Preparation
Be sure to remove all scale, grease, dust and any other debris completely from the pipe before coating.
Decent preparatory work is a must for accomplishing top quality finish. You will find all you need from Spraypoxy Cleaning equipment series to succeed.
Clean the pipe well. Use grinding chains for cast iron pipes and flush simultaneously with water.
For cleaning plastic pipes, use Spraypoxy Carbide Brushes.
Let the pipe dry out. To speed up the process, use Spraypoxy Sewer Dryer. Sewer has to be dry before coating!
Inspect the final result with CCTV Camera.
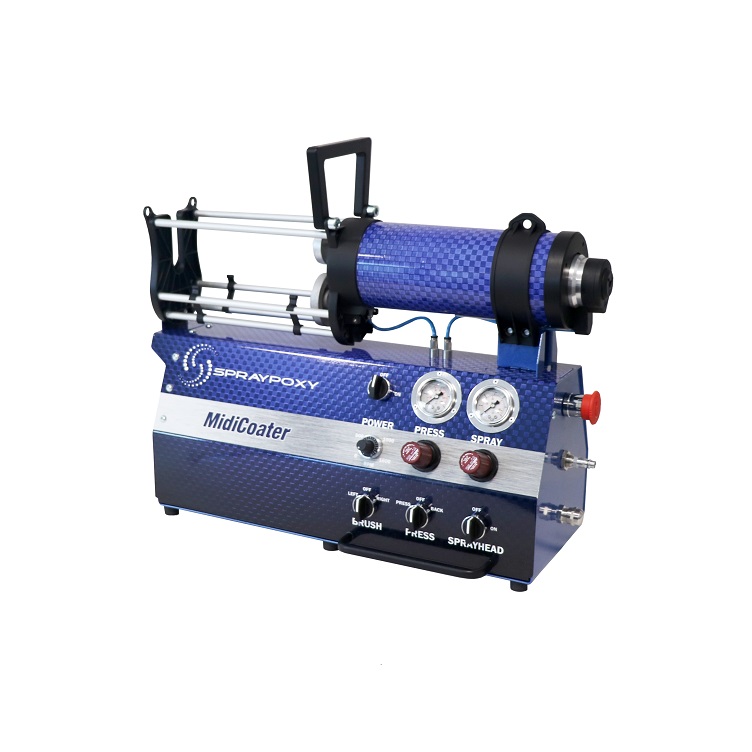
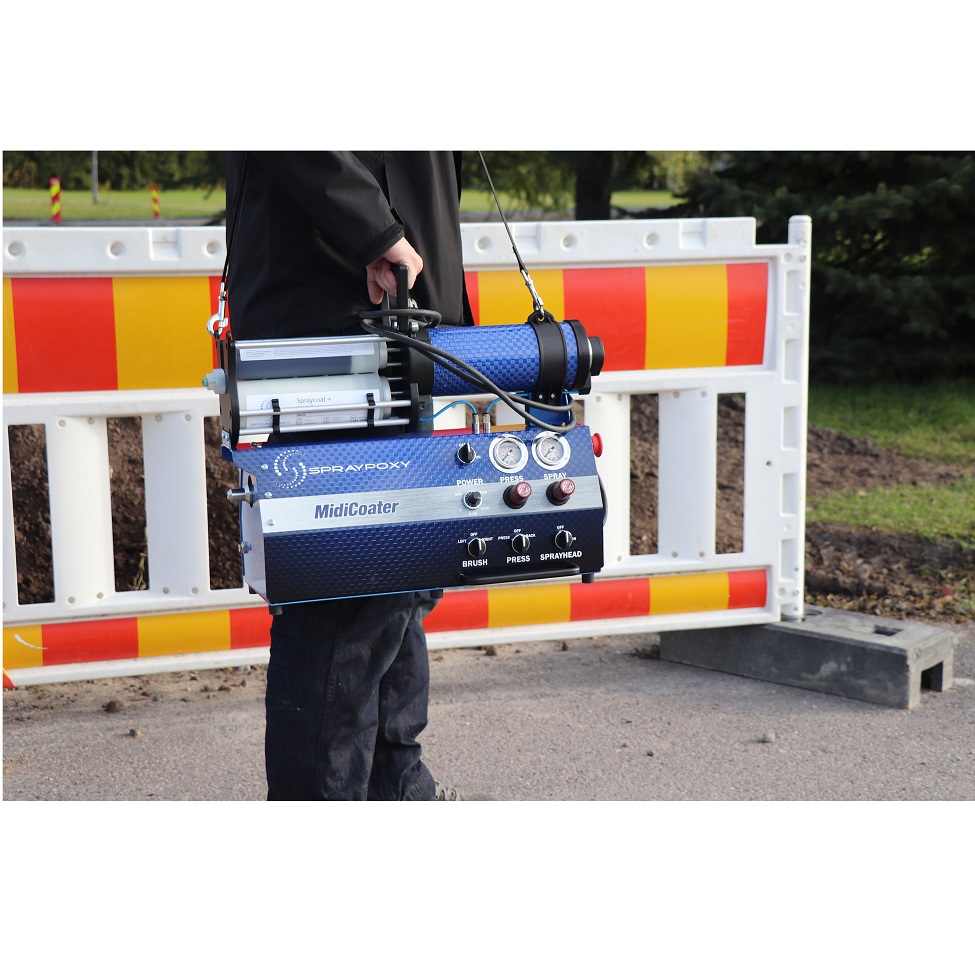
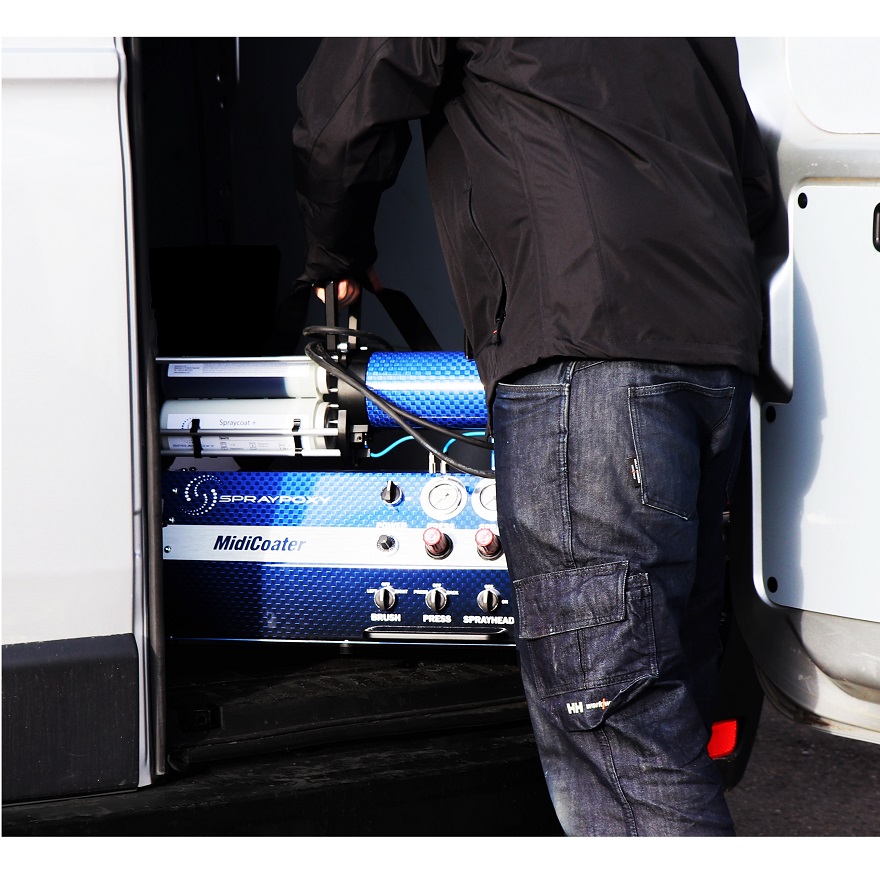
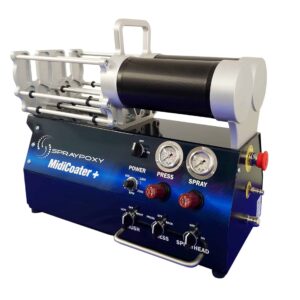
Application with MidiCoater
Select the right brush size for the pipe. Always use a brush one pipe size larger than the pipe to be coated.
Note: Although one brush can be used in a straight pipe, dual brushes are required for pipes with bends or transitions.
BRUSHCOATING
55 mm /2" Spraypoxy Coating Brush DN40/1.5" pipe
80 mm /3 5/32" Spraypoxy Coating Brush DN50/2" pipe
110 mm /4 1/3" Spraypoxy Coating Brush DN70/3" pipe
125 mm /5" Spraypoxy Coating Brush DN100/4" pipe
PIPE SPRAYING
Pipe size < DN40 use spray head Mini with correct centralizer
Pipe size < DN75 use spray head Small with correct centralizer
Pipe size > DN75 use spray head Normal with correct centralizer
The coating operation is started at the end of the pipe farthest from the access point. Resin is then pumped into the pipe and brushed on to the wall.
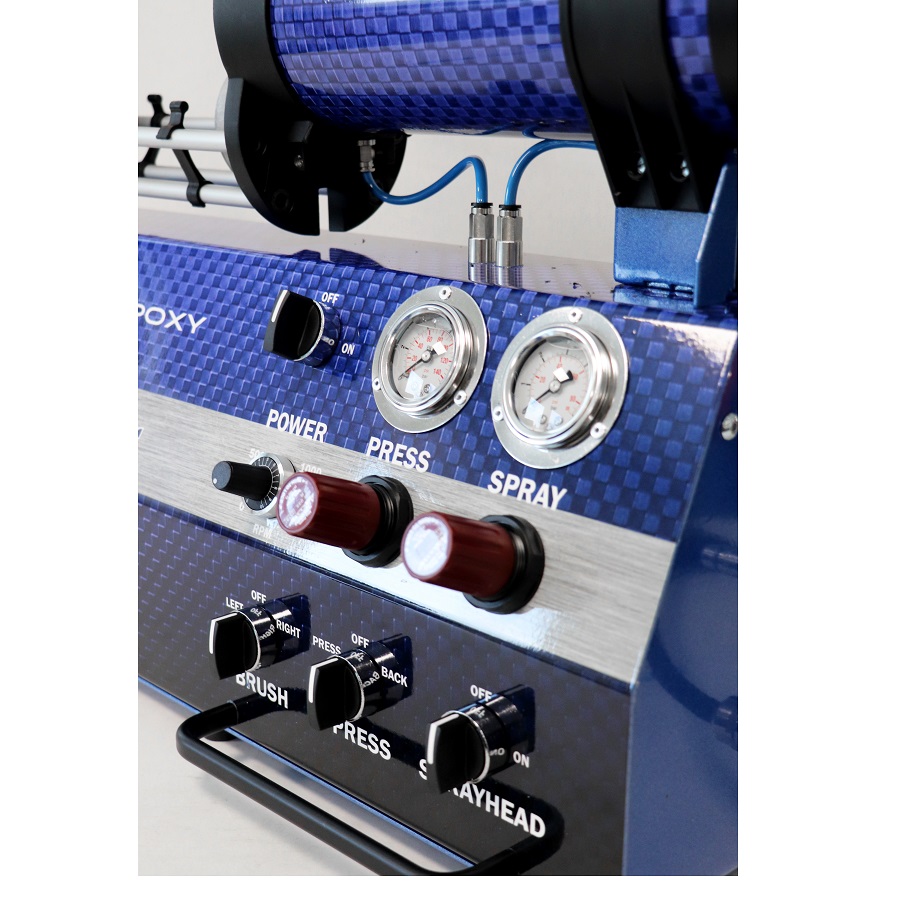
Start the pump from the power switch. Turn the "PRESS" switch to start the press.
Turn on the spray head when epoxy is reaching the flexible mixer.
Do not use more than 1.5 bar pressure without spraying epoxy!
Always operate with a camera to reach the best result.
Control spraying by adjusting spray head rotation speed with a pressure switch to achieve a homogenous surface.
Keep pulling hoses at a steady speed.
This is repeated over the length of the pipe which is coated until the brush assembly reaches the access point. Subsequent layers can be coated approximately in half an hour intervals.

